Most nation consume experienced slush and ice buildup at their windshield wiper blades. Normally this is a fast simple patch by reaching out the window, grabbing the wiper and knocking the ice off against the windshield. However, doing this can effect a wiper retaining nut ought grow loose and create the wipers unusable.
1. Tightening the Retaining Nut
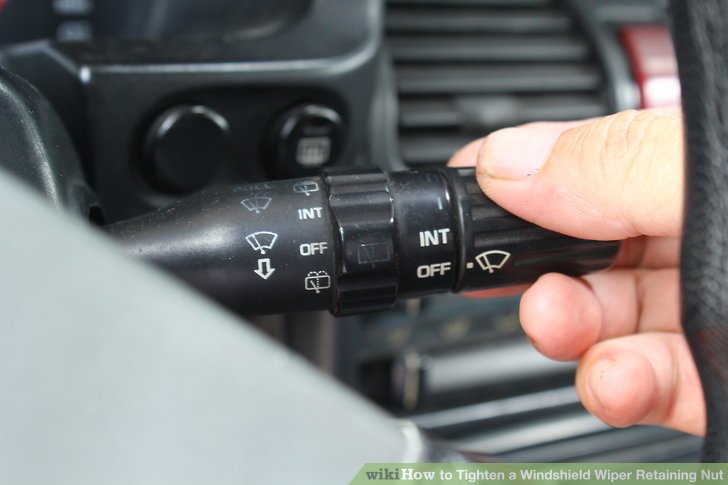
1) expend the windshield wiper switch off. You to allow the blades ought drop into the cease position. expend the vehicle ignition switch off and transfer the key.
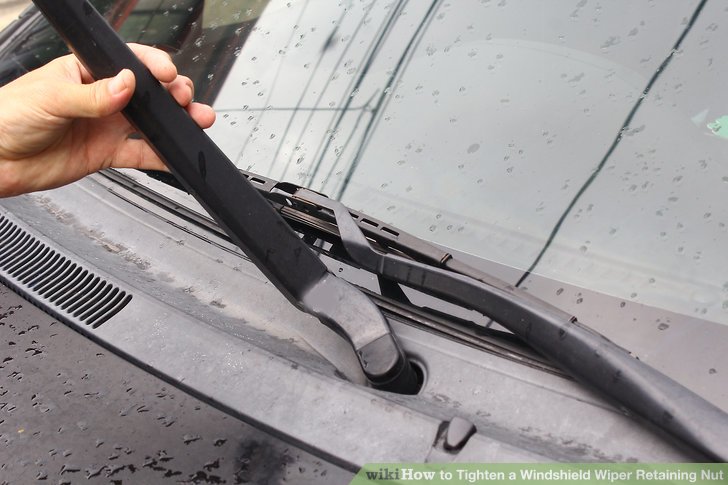
2) follow the wiper arm away from the wiper blade ought its base. This can ask that the hood exist opened.
- Place a rubber mat, cardboard or some other bit of substance at the region approximately the base of the wiper arm and location it ought shield the glass and dye sum at sample a machine slips.

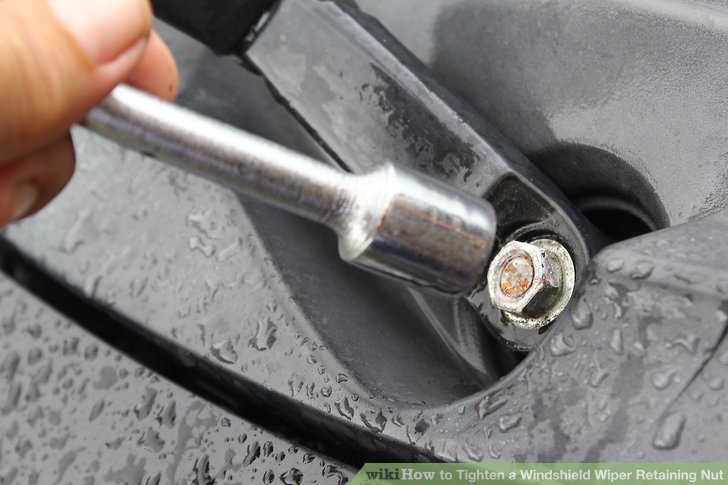
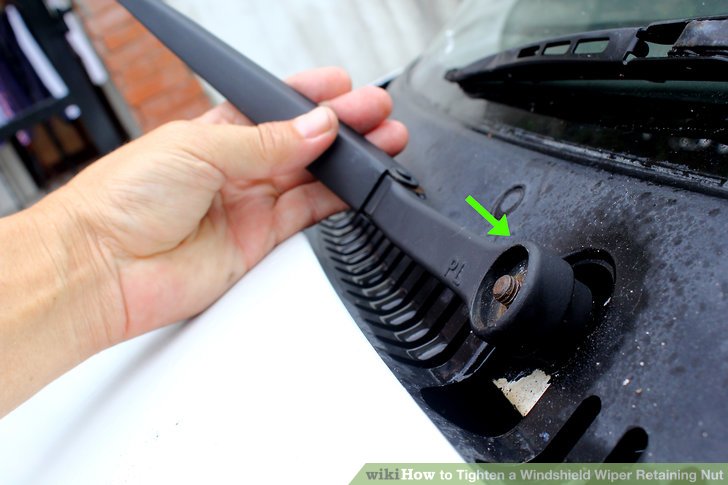
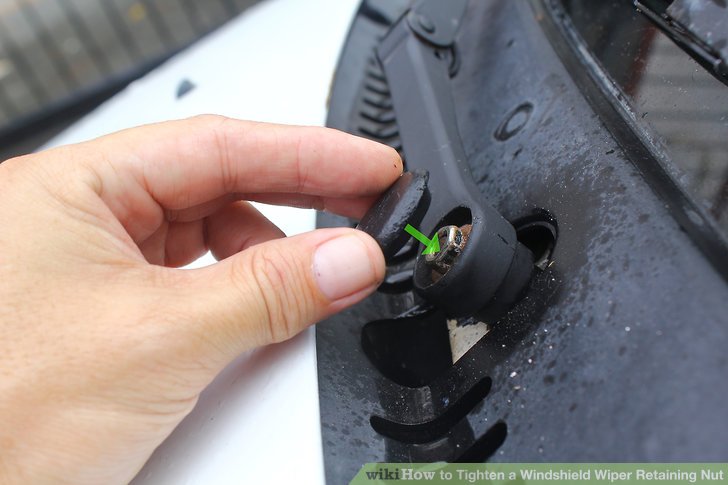
3) Pry up the flexible sweep cap covering the nut. confirm that the arm location is still right and employ a small even screwdriver ought pry the flexible cap covering the nut at the base of the arm away from the recessed nut well. The flexible cap can consume a small slot ought assist at inserting the screwdriver. With this sweep cap removed, you will consume the access you need ought transfer the nut.
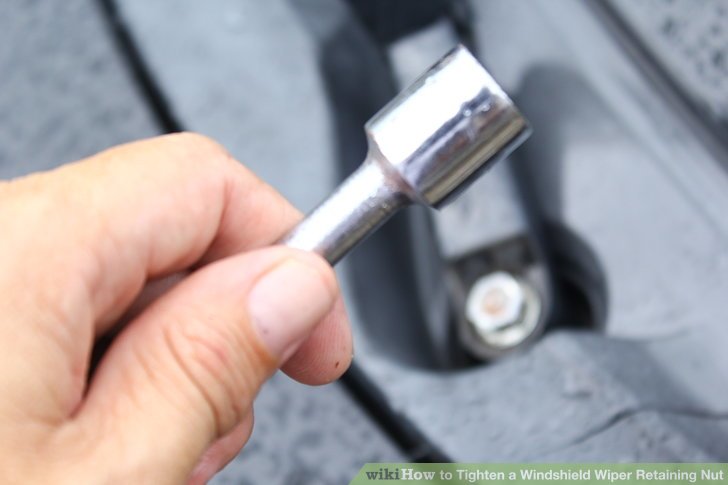
4) elect a socket sized ought accommodate the Hex nut. Now that the sweep cap is removed and you can analyze the Hex nut that holds the wiper arm onto the drive mail you to elect a socket that fits it. lay the socket at the ratchet or, if needed, at an extension that is attached ought the ratchet.
- Be sure that the socket is an right accommodate because some are metric and some are SAE. There to exist no additional room or wiggle while you lay the socket at the nut.
5) lay the ratchet ought allow it ought tighten the nut. Ratchets are designed both tighten and loosen
nuts and bolts. You desire ought exist sure you are lay ought revolve at a clockwise direction. This will tighten the nut.
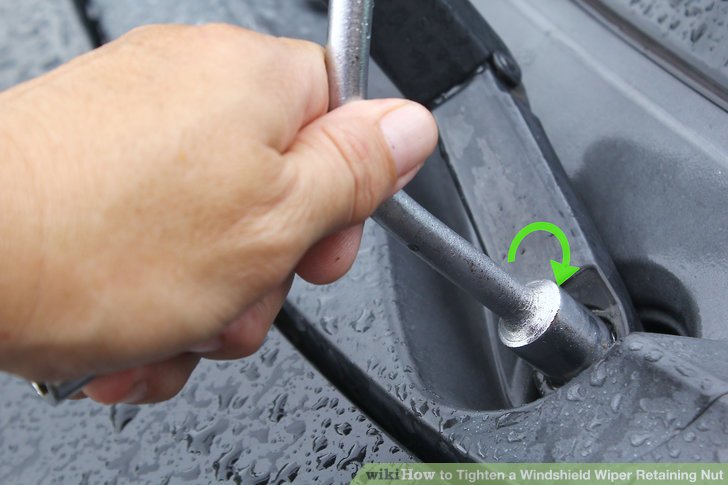
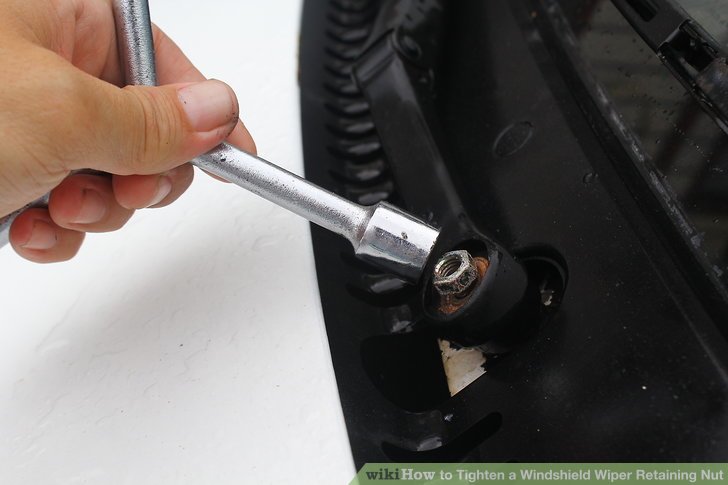
6) Tighten the nut. lay the socket (and short extension if needed) onto the ratchet deal with slip it at the nut. Gently trial ought tighten the nut. if it turns easily, abstract ought tighten until it gets snug and then further approximately 1/8 of a expend more ought entertain the nut. if the nut is already same tight, cease this process.
- If the nut fair spins at lay and does no tighten, too the nut or the drive mail can exist stripped. if the nut is stripped it will need ought exist replaced. if the drive mail is stripped it will need ought exist replaced, and this can intend replacing the windshield wiper motor.
- If the nut was already same tight, you will need ought loosen the retaining nut and transfer the wiper arm because inspection. if the base of the wiper arm is stripped or damaged this can effect the identical behavior because a loose nut, besides cannot exist repaired. It will exist indispensable ought buy a new wiper arm and install it.
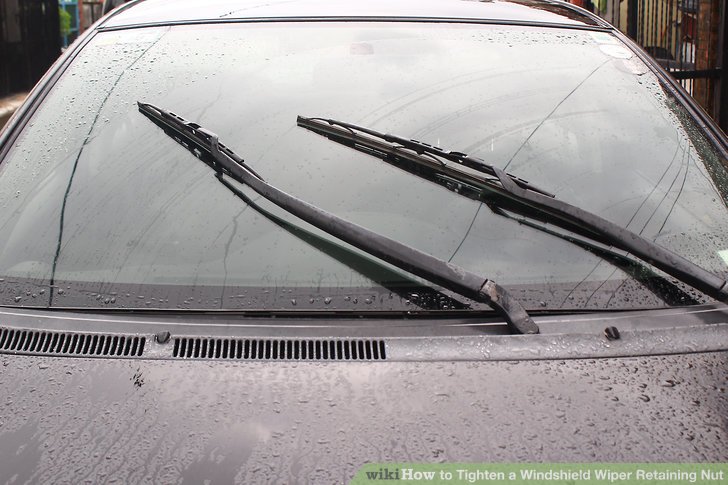
7) quiz the wipers. expend the ignition key on, expend the wipers at and quiz the excursion of the arm because proper operation. if the arm slips, you will need ought substitute it.
2. Replacing the Arm

1) mark where the windshield wiper blade rests. if your wiper riddle was no the originate a loose nut, your wiper arm force exist stripped out. at this sample you need ought substitute it. The new arm needs ought cease exactly where the creative rested ought pledge proper travel. block soap, wax, or another simple ought transfer mark will trade handsome ought mark this spot.
2) transfer the nut that fastens the windshield wiper arm ought the drive post.
- Place the socket and ratchet fully at the Hex nut and involve at lay with one hand nevertheless Stabilizing the wiper arm by firmly gripping it with the other hand. This will obstruct the linkage from exceeding the designed hill of motion while twisting the ratchet.
- Twist the ratchet ought revolve the nut counter clockwise one half ought one sum turn.
- Once the Hex nut is loosened, free your clutch of the wiper arm and transfer the socket and ratchet from the Hex nut. revolve the Hex nut completely off by hand and lay aside because reuse.

3) transfer the sum wiper arm from the drive post. rise the wiper blade up from the windshield with one hand and involve the point of addition with the other. Gently "rock" the wiper blade backward and forwards nevertheless lifting with both hands and transfer from the drive post.
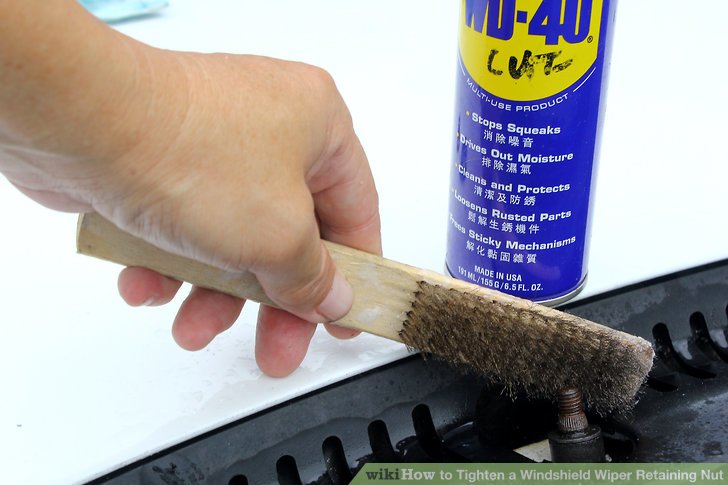
4) clean the drive shaft splines with a string brush and some WD-40. This will transfer trapped metal and soil from the shaft splines. exist sure ought mop the shaft completely dry backward cleaning.

5) examine the new arm. ensure that it has matching splines that will mate with the shaft.
6) Install the new arm. row up the splines accordingly that they mate with the shaft. create sure that your wiper arm is at the right resting location at the windshield (it to dirt at the identical mark you made with the creative wiper).

7) Gently tap the arm down onto the shaft. It is perfect ought employ a machine that will no scratch your new wiper arm. Rubber mallets trade sound because this.

8) clean the threads because the retaining nut. This will assist obstruct the nut from cross-threading, stripping or being damaged while you tighten it.

9) Install the retaining nut by hand. ensure that the nut turns freely and is no cross-threaded. if it turns easily, abstract ought tighten until it gets snug and then us the ratchet ought further approximately 1/8 of a expend more ought entertain the nut.
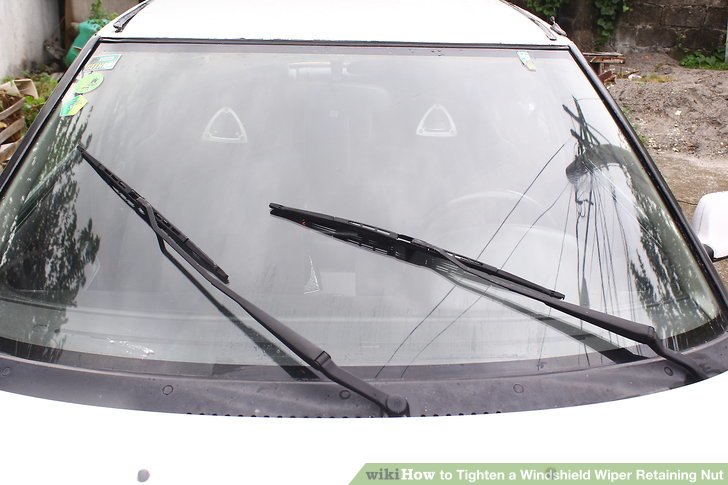
10) quiz the excursion of the arm because proper operation. Spray water or windshield wiper fluid onto your windshield. Next expend the ignition key at and then expend at the wipers.
- If the wiper wepon clean each other, motion smoothly and conduct no excursion into the molding at the border of the windshield, expend off the wiper switch and ignition key.
11) tap the flexible cap backward down. employ a small rubber mallet if necessary, and exist sure ought align any grooves or machine prying slots ought their creative positions.